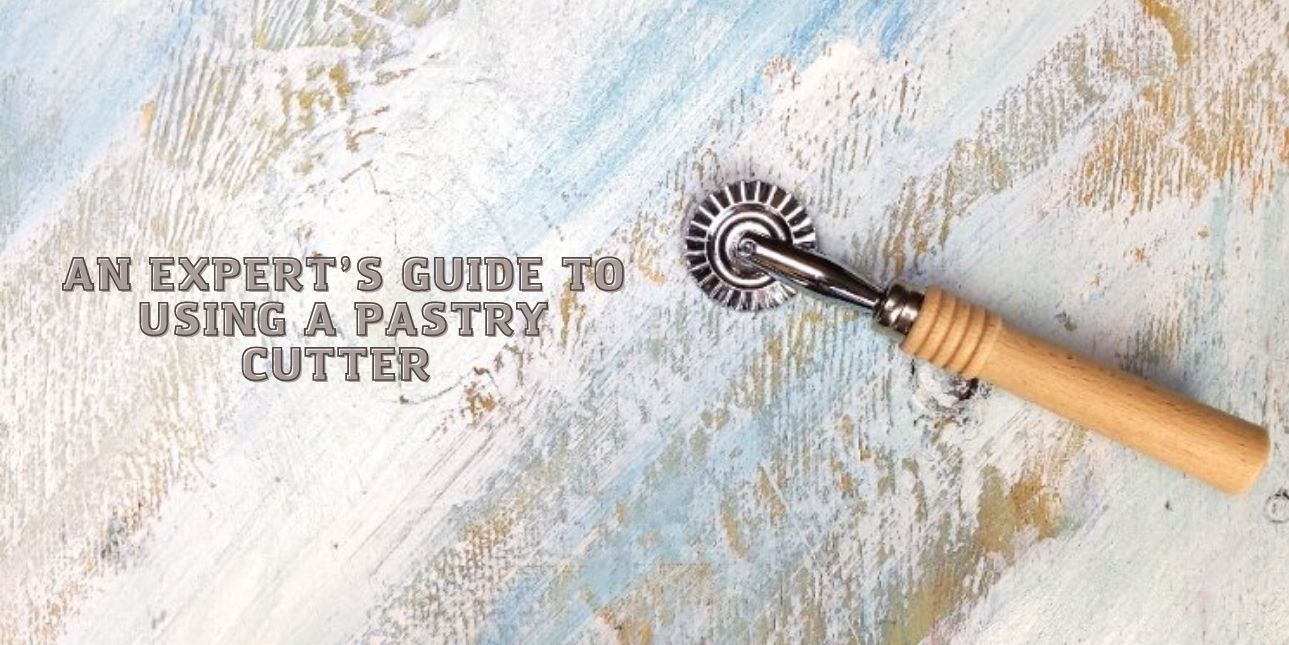
A pastry cutter, often known as a pastry blender, is a common baking tool used to combine hard fats such as butter with flour. The combined flour is used to make pie crust, biscuits, and other baked foods, among other things.
What is a pastry cutter?
The instrument is often made of narrow metal strips or wires attached to a handle, and it is used to mix objects by pressing down on them. It's commonly made of stainless steel and comes with a wooden, metal, or plastic handle for comfort.
What to use instead of a pastry cutter
When baking, you don't always need to have a pastry cutter on hand. Other tools can be used to cut butter into flour instead of a pastry cutter, such as:
- Forks
Butter or other hard fats should be cut into small bits before combining them with the flour and other dry ingredients in a mixing bowl. Then, with a fork, mix the butter into the flour until it has a crumbly texture.
- Butter knives
Hold one butter knife in each hand and add small bits of butter to the bowl of ingredients. Mix the butter and dry ingredients with both knives until fully incorporated.
- Box graters
Using a box grater, grate the butter to incorporate it into the dry ingredients. To make grating butter easier, use cold or frozen butter.
- Food processors
In a food processor, keep adding small bits of butter into your dry ingredients until a lovely, crumbly texture is achieved. It won't take long—maybe a minute or two—and make sure to avoid overworking the dough.
- Your hands
When working with food or baking, remember to wash your hands or wear gloves. With your hands, rub the butter into the flour. To break up the butter and bring everything together, simply squeeze the ingredients between your fingers. To avoid melting the butter, keep your hands cold and dry while working quickly.
A pastry cutter, on the other hand, makes mixing and forming the dough a breeze, because it keeps the butter in bits rather than blending it completely with the flour. The butter melts when the dough is baked, leaving pockets of butter in the pastry. This is how baked foods get their "melt-in-your-mouth" texture. For the ultimate flakey pastry, experts say the butter chunks should be around the size of peas!
If you do decide to buy one, get one with blades rather than wire as it is far more durable. Stainless steel is also a good choice because it does not rust. A pastry cutter usually lasts for a long time.
Pastry cutters are used in several recipes. Some of them are:
This is a quick and easy scones recipe that can be personalized by adding dried fruits and nuts.
Prep time: 10 mins
Cook time: 15 mins
Total time: 25 mins
Servings: 8 scones
Ingredients required:
- all-purpose flour - 3 cups
- white sugar - ½ cup
- baking powder - 5 teaspoons
- salt - ½ teaspoon
- butter - ¾ cup
- egg, beaten - 1
- milk - 1 cup
Directions:
Step 1: Preheat the oven to 400 degrees Fahrenheit (200 degrees C). Grease a baking sheet lightly.
Step 2: Combine flour, sugar, baking powder, and salt in a large mixing bowl. Cut using a butter knife. In a small bowl, whisk together the egg and milk, then add into the flour mixture until moistened.
Step 3: Turn out the dough onto a lightly floured surface and knead it for a few minutes. Make a 1/2-inch thick round out of the dough. Cut into 8 wedges and place them on the prepared baking sheet.
Step 4: Bake for 15 minutes, or until golden brown, in a preheated oven.
Make sure to serve it with clotted cream and jam, alongside your favorite tea.
- Buttermilk biscuits
This simple buttermilk biscuit recipe yields 12 biscuits per dish.
Prep time: 20 mins
Cook time: 15 mins
Total time: 35 mins
Ingredients:
- all-purpose flour spooned & leveled - 2 cups (250gm)
- baking powder - tablespoon
- baking soda - ¼ teaspoon
- sugar - 2 teaspoons
- salt - 1 teaspoon
- cold unsalted butter - 6 tablespoons (85 grams)
- cold buttermilk - 3/4 cup (180 ml)
Directions:
Preheat the oven to 450 degrees Fahrenheit. Set aside a large baking sheet lined with parchment paper or a silicone baking mat.
Step 2: Whisk together the flour, baking powder, baking soda, sugar, and salt in a large mixing basin until well blended. Cut the cubed cold butter into the dry ingredients with a pastry cutter (you can also use a food processor for this step) until little pea-sized pieces of butter remain. Pour the cool buttermilk into the mixture and stir it in slowly until the dough comes together.
Step 3: Place the dough on a lightly floured surface and knead it slightly with your hands. Fold the dough in thirds after patting it into a rectangle. Turn the dough over, gather any crumbs, and flatten it into a rectangle once again. Repeat the process twice more.
Step 4: Turn the dough out onto a lightly floured board and pat it into a 1/2-inch thick rectangle (measure!). Cut out the biscuits with a floured 2.5-inch biscuit cutter. Continue gathering scraps of dough, flattening it down to 1/2-inch thickness, and cutting it into 10 to 12 biscuits. You should make as many biscuits as you can the first time; as stale dough makes the biscuits less tasty.
Step 5: Place the biscuits on the baking sheet so that they are touching. Brush a small amount of buttermilk over the top of each biscuit.
Step 6: Bake for 15-17 minutes at 450°F, or until softly golden brown. Remove from the oven and, if preferred, brush with melted butter. Allow for a few minutes of cooling before serving and enjoying!
You can serve bacon and eggs, gravies, and jam alongside your baked biscuits.
Storing your baked goods
Baked items, such as scones and biscuits, must be carefully stored. Allow them to cool completely before wrapping them separately and storing them in the refrigerator or freezer. Just heat them in the oven before serving.
Don't have a refrigeration unit for your kitchen? Don't worry. Choose from our wide range of commercial refrigerators, walk-in coolers, and refrigeration equipment for your restaurant business.
Despite its size, a pastry cutter makes it easy for cooks or bakers to mix their ingredients in a matter of minutes without using their hands.


