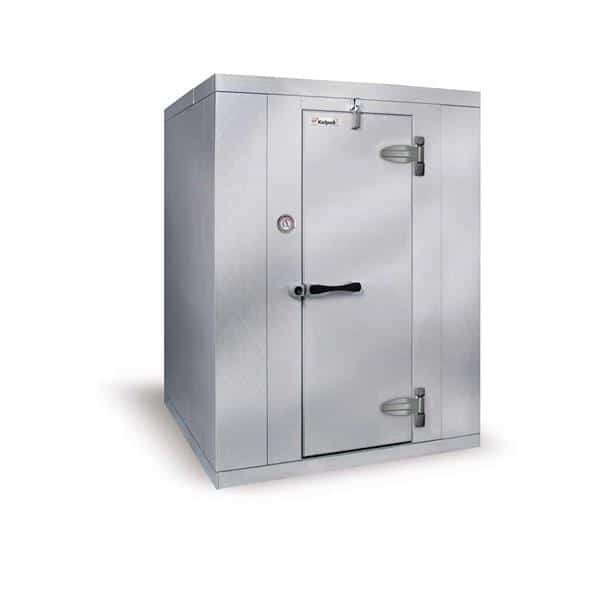
After deciding to invest in a walk-in freezer for commercial use, it’s crucial that you take the time to get to know your unit, how it works, and the best ways to keep it running optimally. You want to make sure you have all the answers to important questions like what temperature a walk-in freezer should be, how I can best maintain my walk-in freezer, and more.
What Temperature Should a Walk-In Freezer Be?
It doesn’t matter what sector of the hospitality sector you’re in – when storing, handling, and serving food and beverages to the public, you need to make sure your refrigerators and freezers are working as intended.
One question many ask when researching their options for a walk-in freezer is, “what temperature should a walk-in freezer be?”
A walk-in freezer aims to store bulk amounts of food and other ingredients for later use. Freezing foods keeps them safe for consumption indefinitely, especially when appropriately packaged and stored in the freezer right after purchasing or after being delivered to your location.
It is recommended that all walk-in freezers that are being used to store food and other ingredients for consumption should be kept at 0 degrees Fahrenheit or approximately -18 degrees Celsius.
When food is stored at this temperature, it significantly slows down the microorganisms present on/within the food, leading to natural decomposition. It is crucial to remember that freezing food does not kill these microorganisms but puts them in a dormant state, so when thawed, food can still go bad if not used promptly.
One important thing to note, however, is that food and ingredient do still have some type of shelf life if you plan on maintaining their overall quality at the time of use, which is why you should regularly clean out your walk-in of foods that have surpassed their “best by” timeline:
- Bacon and sausage – 1 to 2 Months
- Casseroles – 2 to 3 Months
- Egg whites or egg substitutes – 12 Months
- Frozen dinners and entrées – 3 to 4 Months
- Gravy, meat, or poultry – 2 to 3 Months
- Ham, hotdogs, and lunchmeats – 1 to 2 Months
- Meat, cooked – 2 to 3 Months
- Meat, uncooked ground – 3 to 4 Months
- Meat, uncooked roasts – 4 to 12 Months
- Meat, uncooked steaks, or chops – 4 to 12 Months
- Poultry, cooked – 4 Months
- Poultry, uncooked giblets – 3 to 4 Months
- Poultry, uncooked parts – 9 Months
- Poultry, uncooked whole – 12 Months
- Soups and stews – 2 to 3 Months
- Wild game, uncooked – 8 to 12 Months
5 Tips for Maintaining Your Walk-In Freezer’s Ideal Temperature
Simply setting your walk-in freezer at 0 degrees Fahrenheit does not ensure that it will maintain this temperature. There are many reasons why your walk-in’s temperature may increase, including:
- Power failure
- A leak in your unit’s door seal
- Leaving the door open
- Continuous entry and exiting for various ingredients/foods
- Placing a large amount of fresh/thawed product into the freezer at once, etc.
Here are five tips to help you maintain your walk-in’s optimal temperature:
1. Keep the Unit Clean
Having a clean freezer is essential for it to continue running properly. When different parts of the unit get gunked up, it can slow down the overall cooling process, resulting in a warmer walk-in. You want to ensure that you are keeping the coils of your evaporator and condenser systems clean and dust-free. This can be done by simply vacuuming them regularly.
2. Schedule Regular Maintenance Checks with a Professional
Another essential part of keeping your unit clean is scheduling it for regular maintenance. Walk-in freezers have various intricate moving parts that need to be carefully attended to by a trained professional. This is why you want to have your unit regularly inspected to make sure everything is up to snuff and working as it should.
3. Make Sure Your Unit’s Lights are Off When You Exit
Depending on your walk-in’s size, you will likely have a light built into the unit to help you see while you are in there. Whether that light goes on and off automatically or you must physically switch it on and off – you want to make sure that the light turns off. Even when located in a freezer, lightbulbs emit heat, and when you forget to turn them off or they don’t turn off automatically, it can result in the partial dethawing of your frozen goods.
4. Check the Unit for Leaks
If your unit is not maintaining the proper temperature, you will want to check it for potential leaks. This can be caused by a door with hinges that do not allow the unit to shut all the way and seals that are either weak or torn – leading to the escape of cold air.
To prevent these sorts of leaks, make sure you are keeping your door’s hinges lubricated properly and always check the integrity of the door seals by looking for any tearing or loose areas that keep the door from closing completely.
5. Keep the Door of Your Unit Closed at all Times
This may seem a bit obvious, but when you are in the middle of a busy day, it can be easy to run in and back out of the walk-in without ensuring the door has closed all the way.
Ensure you are taking the time to slow down long enough to make sure you completely close the door when you exit your walk-in. If you will be in your walk-in for an extended period, such as during inventory, then put your jacket on and close the door behind you while you do your work – just make sure your unit doesn’t lock automatically.
Take the Time to Get to Know Your Walk-In Freezer
Purchasing a walk-in freezer is a significant investment for your establishment. To get the most from your unit, you need to make sure you are keeping it properly maintained, and once you know what temperature a walk-in freezer should be, you want to make sure you and your staff are taking the necessary steps to maintain that temperature.


